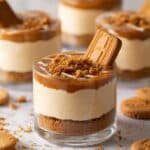
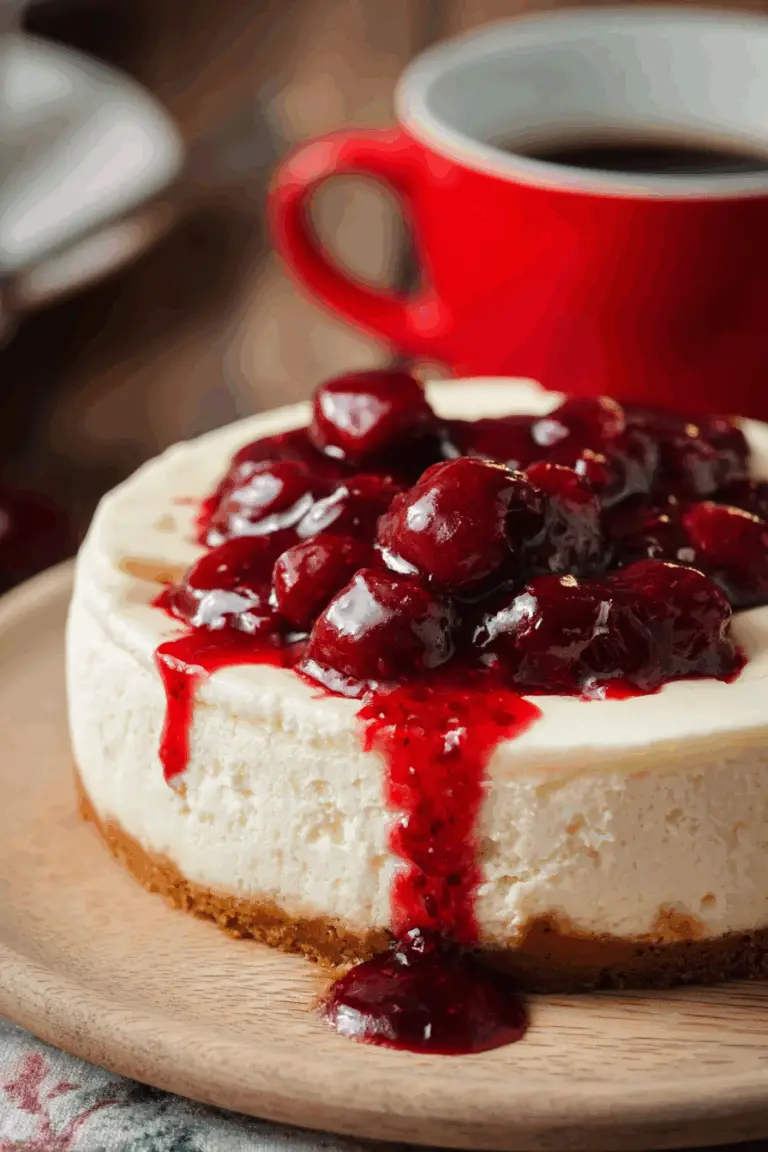
If you have a soft spot for creamy, dreamy desserts that come together in no time, then you’re going to adore this No-Bake Biscoff Cheesecake Cups Recipe. It’s the perfect blend of the iconic Lotus Biscoff biscuit’s warm caramelized flavor paired with a luxuriously smooth cheesecake filling, all nestled in easy-to-assemble individual cups. This treat is a crowd-pleaser that requires no oven and minimal fuss, making it ideal for impromptu gatherings or whenever a sweet craving strikes. The balance of crunchy biscuit base and airy, rich filling is simply irresistible, bringing the cozy flavor of Biscoff into a charming, handheld dessert.
Ingredients You’ll Need
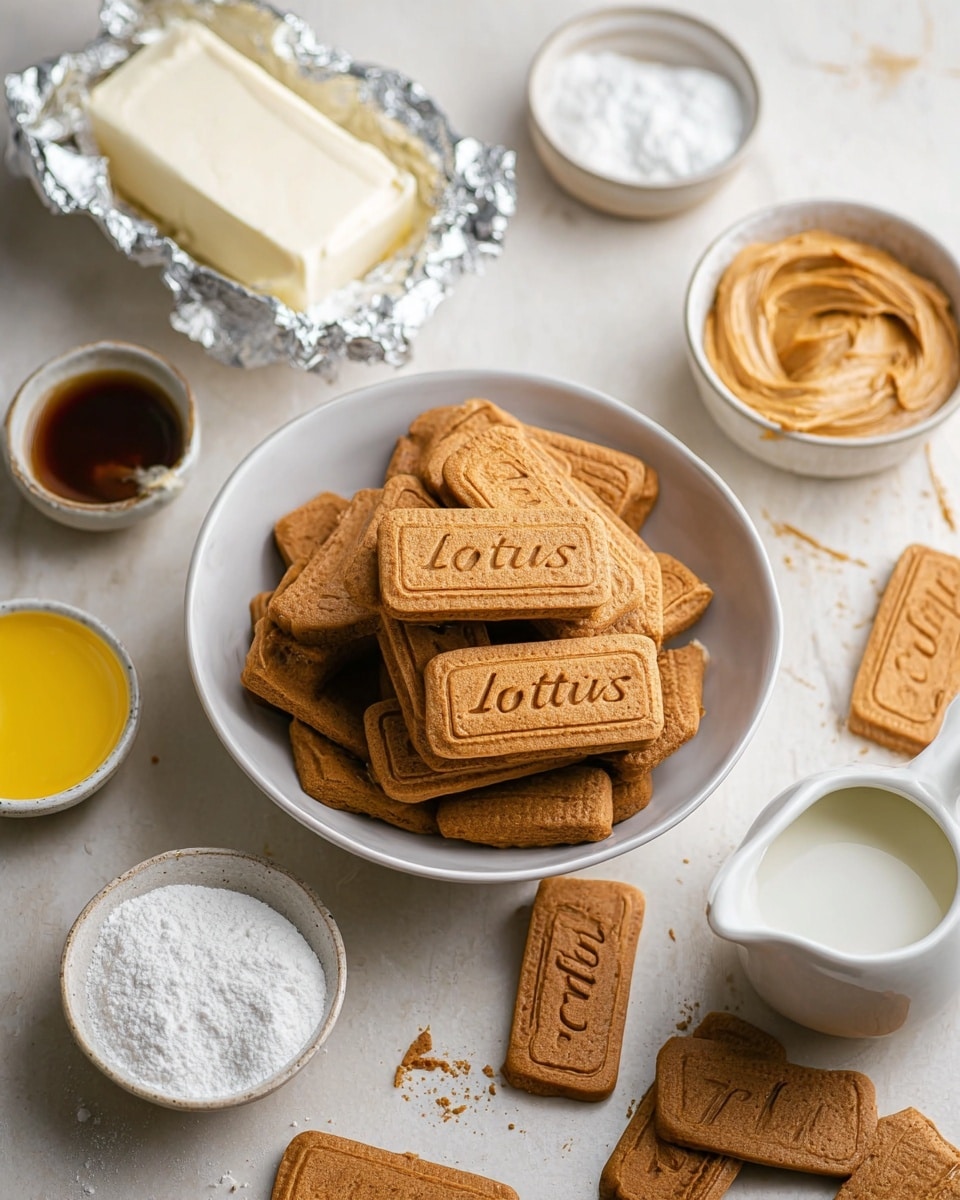
These simple yet essential ingredients come together beautifully to create the classic texture and flavor that makes this recipe shine. Each component plays a specific role, from the crunchy biscuit base to the fluffy cheesecake filling, guaranteed to satisfy your sweet tooth and impress your guests.
- 30 Lotus Biscoff biscuits: The backbone of the crust, adding that signature spiced caramel crunch.
- 2 tablespoons unsalted butter, melted: Binds the crushed biscuits into a firm, buttery base.
- 16 oz heavy cream (2 cups): Whipped to cloud-like peaks, it gives the cheesecake filling its airy, creamy texture.
- 8 oz cream cheese, at room temperature: Brings richness and structure to the filling, balancing sweetness with tang.
- 1/2 cup powdered sugar: Smoothly sweetens the filling without graininess.
- ½ cup Biscoff spread: Packs in that intense cookie butter flavor right into the cheesecake.
- 1 teaspoon vanilla extract: Adds warmth and depth, enhancing all the other flavors beautifully.
- ½ cup Biscoff spread (for garnish): To drizzle on top for extra lusciousness.
- 8 Biscoff cookies, cut in half: For charming decorative touches that hint at the flavors inside.
How to Make No-Bake Biscoff Cheesecake Cups Recipe
Step 1: Prepare the Crumb Base
Start by crushing the 30 Lotus Biscoff biscuits into fine crumbs. You can do this quickly by placing them in a sealed plastic bag and using a rolling pin or pulsing in a food processor. Then, mix the crumbs with the melted butter until evenly moistened. Divide the crumb mixture evenly among your serving cups and press down firmly to create a compact, sturdy base that will hold up as you add the cheesecake filling.
Step 2: Whip the Heavy Cream
Using either a stand mixer or handheld beaters, whip the heavy cream until stiff peaks form. This step is crucial to give your cheesecake filling that airy lightness, as it will be folded in later to create the perfect creamy texture without baking.
Step 3: Make the Cheesecake Filling
In a separate bowl, beat the softened cream cheese and powdered sugar together until smooth and creamy. Next, add the ½ cup of Biscoff spread and vanilla extract, mixing until everything is fully combined with no lumps. This is where the intense Biscoff flavor starts to shine through, blending perfectly with the creamy base.
Step 4: Fold in the Whipped Cream
Gently fold the whipped cream into the cream cheese mixture in two batches, using a spatula to preserve the airiness. This step ensures a delightfully light yet rich filling that will melt in your mouth once chilled.
Step 5: Assemble the Cups
Spoon or pipe the cheesecake filling over the biscuit bases in each cup, filling them to the top. Smooth the surface with the back of a spoon or an offset spatula for a clean finish. Refrigerate the cups for at least 4 hours or overnight to allow the filling to set and the flavors to mingle beautifully.
How to Serve No-Bake Biscoff Cheesecake Cups Recipe

Garnishes
To elevate your dessert visually and flavor-wise, drizzle a spoonful of warmed Biscoff spread over the set cheesecake cups. Place a half Biscoff cookie on top of each for an extra crunch and to hint at the deliciousness inside. This simple garnish adds a sticky-sweet finish that makes each bite even more indulgent.
Side Dishes
While these cheesecake cups are quite the star on their own, pairing them with a side of fresh berries or a small scoop of vanilla ice cream can brighten the overall dessert experience. The acidity from berries cuts through the sweetness and richness for a balanced palate sensation.
Creative Ways to Present
If you want to impress your guests with presentation, try layering cute mason jars with alternating layers of the biscuit crumbs and cheesecake filling, topping each with a cookie and a swirl of Biscoff spread. Adding edible gold leaf or a dusting of cinnamon can also make them look extra special at parties or celebrations.
Make Ahead and Storage
Storing Leftovers
These No-Bake Biscoff Cheesecake Cups store wonderfully in the refrigerator. Cover them tightly with plastic wrap or transfer to an airtight container to keep the filling creamy and prevent it from absorbing any fridge odors. They will stay fresh for up to 3 days, perfect for enjoying over a few days or serving guests later on.
Freezing
You can freeze these cheesecake cups if you want to stash them for a longer period. Place them in freezer-safe containers or cover them well with cling film and then foil to protect against freezer burn. Thaw in the fridge overnight before serving; the texture will remain luscious and creamy after freezing.
Reheating
Since this dessert is served cold, reheating is not applicable. Instead, simply let frozen cups thaw fully in the refrigerator to regain their perfect texture and flavor.
FAQs
Can I use a different type of biscuit instead of Lotus Biscoff?
While Lotus Biscoff biscuits are what give this recipe its distinctive caramel-spiced flavor, you can experiment with ginger snaps or speculoos cookies for a similar taste profile. However, substituting with plain digestives or graham crackers will change the flavor considerably.
Is it possible to make this recipe dairy-free?
Yes! Try using dairy-free cream cheese and coconut cream in place of the heavy cream. Keep in mind that the texture might be slightly different, but the result will still be delicious and suitable for those avoiding dairy.
How long should I chill the cheesecake cups before serving?
For the best texture and flavor, chilling the cups for at least 4 hours is recommended, but overnight chilling is ideal. This allows the cheesecake filling to set properly and the flavors to meld beautifully.
Can I prepare these cups in advance for a party?
Absolutely! These cups are a fantastic make-ahead dessert. Prepare and assemble them a day or two before your event, keeping them refrigerated until you’re ready to serve, saving you time on the day of the party.
What is the best way to crush the biscuits for the base?
The easiest way is to place the biscuits in a sealed plastic bag and roll over them with a rolling pin until crumbs form. Alternatively, a quick pulse in a food processor works well for an even crumb consistency.
Final Thoughts
There’s something truly satisfying about a dessert that feels both indulgent and effortless, and this No-Bake Biscoff Cheesecake Cups Recipe hits that mark perfectly. Whether you’re treating yourself after a long day or looking to wow friends with minimal fuss, these cups are an absolute joy to make and devour. I can’t recommend giving it a try enough—you’ll find it’s soon one of your go-to desserts for any occasion.
PrintNo-Bake Biscoff Cheesecake Cups Recipe
These No-Bake Biscoff Cheesecake Cups are a deliciously creamy and indulgent dessert featuring a crunchy Lotus Biscoff biscuit base topped with a smooth, luscious cheesecake filling infused with biscoff spread. Perfect for a quick treat that requires no oven, these individual cups are beautifully garnished with extra biscoff spread and biscotti halves, making them irresistible and convenient for serving at any occasion.
- Prep Time: 15 minutes
- Cook Time: 0 minutes
- Total Time: 4 hours 15 minutes (includes chilling time)
- Yield: 8 cheesecake cups
- Category: Dessert
- Method: No-Cook
- Cuisine: American
Ingredients
Crumb Base
- 30 Lotus Biscoff biscuits
- 2 tablespoons unsalted butter, melted
Cheesecake Filling
- 16 oz heavy cream (2 cups)
- 8 oz cream cheese, at room temperature
- 1/2 cup powdered sugar
- 1/2 cup biscoff spread
- 1 teaspoon vanilla extract
Garnish
- 1/2 cup biscoff spread
- 8 Biscoff cookies, cut in half
Instructions
- Prepare the Crust: Crush the Lotus Biscoff biscuits into fine crumbs using a food processor or by placing them in a sealed bag and crushing with a rolling pin. Mix the crumbs with melted butter until well combined. Press the mixture evenly into the base of individual serving cups to form the crust layer.
- Make the Cheesecake Filling: In a large bowl, whip the heavy cream until stiff peaks form. In a separate bowl, beat the cream cheese with powdered sugar, biscoff spread, and vanilla extract until smooth and creamy. Gently fold the whipped cream into the cream cheese mixture until fully incorporated and fluffy.
- Assemble the Cups: Spoon or pipe the cheesecake filling over the prepared biscuit crust in each cup, smoothing the top evenly.
- Chill: Refrigerate the assembled cheesecake cups for at least 4 hours or until set and firm.
- Garnish and Serve: Before serving, warm the remaining biscoff spread slightly to soften and drizzle over the top of the cheesecake cups. Place biscoff cookie halves decoratively on top as garnish.
Notes
- Allow the cream cheese to reach room temperature for a smoother cheesecake filling.
- Use chilled heavy cream for better whipping volume and stability.
- These cheesecake cups can be made a day ahead and stored covered in the refrigerator.
- For a lighter option, substitute half the heavy cream with Greek yogurt, though it may slightly alter texture.
- Ensure the biscoff spread used for drizzling is warmed gently to avoid burning or separating.
