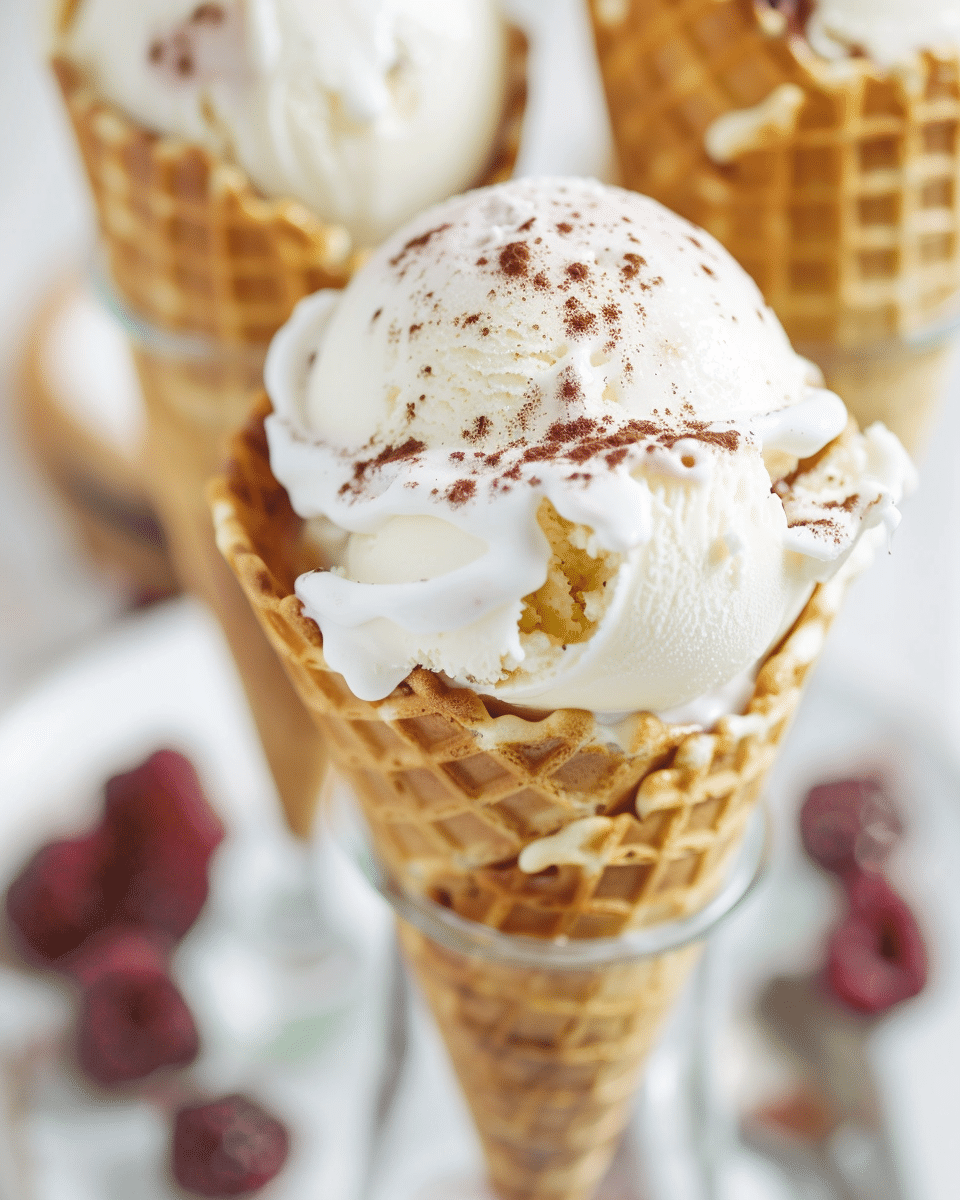
These easy homemade ice cream cones are such a fun way to enjoy a sweet treat. I love making them from scratch because they taste fresher, and I can shape them just the way I like. They have a light crispness with a buttery, vanilla flavor that pairs perfectly with any ice cream I scoop inside.

Why You’ll Love This Recipe
I love this recipe because it’s simple, budget-friendly, and makes my ice cream nights feel extra special. I enjoy the process of cooking the thin batter and rolling it into cones while they’re warm it’s hands-on and creative. Plus, I don’t have to rely on store-bought cones, and I can even add my own twist with flavors or toppings.
Ingredients
2 large eggs
1/2 cup white sugar
1/4 cup butter, melted and cooled
1/4 cup 2 percent milk
2 tablespoons vegetable oil
1 teaspoon vanilla extract
1/3 cup flour
1/8 teaspoon salt
(Note: All ingredient amounts are listed in the recipe card below.)
Directions
- I begin by whisking the eggs and sugar together in a bowl until the mixture is light and creamy.
- I stir in the melted butter, milk, vegetable oil, and vanilla extract until smooth.
- I gently add the flour and salt, mixing until just combined. The batter should be thin.
- I preheat a nonstick skillet or a pizzelle/waffle cone maker over medium heat.
- I pour a small amount of batter (about 2 tablespoons) into the skillet and spread it thinly into a circle.
- I cook for 1–2 minutes per side, until golden brown.
- While still warm, I carefully roll the circle around a cone-shaped mold or shape it by hand, pressing the tip to seal.
- I let the cones cool completely on a rack so they crisp up before filling them with ice cream.
Servings and Timing
This recipe makes about 8–10 cones, depending on their size. It usually takes me around 30 minutes from start to finish, including shaping and cooling time.
Variations
Sometimes I add a tablespoon of cocoa powder to the batter for chocolate cones. I also like dipping the rims in melted chocolate and sprinkles for a festive touch. For extra crunch, I mix in finely chopped nuts or shredded coconut before rolling.
Storage/Reheating
I store the cones in an airtight container at room temperature for up to 3 days. To keep them crisp, I sometimes place a small piece of parchment paper between each cone. If they soften, I pop them in the oven at 300°F for about 3–4 minutes to re-crisp them.
FAQs
Do I need a waffle cone maker for this recipe?
No, I can make them in a skillet or nonstick pan, though a cone maker gives a more even finish.
Can I make these gluten-free?
Yes, I substitute the flour with a gluten-free all-purpose blend.
How do I seal the tip of the cone?
I pinch it while the cone is still warm, or I dab a little melted chocolate to close it securely.
Can I make waffle bowls instead of cones?
Yes, I press the warm circles into small bowls to shape them into ice cream bowls.
How thin should I spread the batter?
I spread it very thin, just enough to cover the surface, so it cooks evenly and crisps up.
Can I use whole milk instead of 2 percent?
Yes, whole milk works just as well and makes the cones slightly richer.
How do I keep the cones crispy?
I let them cool completely before storing and always keep them in an airtight container.
Can I make mini cones?
Yes, I simply use less batter and roll them smaller for bite-sized cones.
What’s the best way to roll them without burning my hands?
I use a kitchen towel or wear thin gloves to handle the hot discs when shaping them.
Can I add flavors to the batter?
Yes, I sometimes add almond extract, cinnamon, or citrus zest for a unique flavor twist.
Conclusion
I love making these easy homemade ice cream cones because they add a special homemade touch to dessert. They’re simple to prepare, fun to customize, and always taste so much better than store-bought. Every time I make them, I enjoy that satisfying crunch with my favorite scoop of ice cream.
PrintEasy Homemade Ice Cream Cones
These easy homemade ice cream cones are crisp, buttery, and lightly sweet with a hint of vanilla. They’re fun to make, budget-friendly, and perfect for pairing with your favorite ice cream flavors.
- Prep Time: 15 minutes
- Cook Time: 15 minutes
- Total Time: 30 minutes
- Yield: 8–10 cones
- Category: Dessert
- Method: Stovetop
- Cuisine: American
- Diet: Vegetarian
Ingredients
2 large eggs
1/2 cup white sugar
1/4 cup butter, melted and cooled
1/4 cup 2% milk
2 Tbsp vegetable oil
1 tsp vanilla extract
1/3 cup all-purpose flour
1/8 tsp salt
Instructions
- Whisk the eggs and sugar together in a bowl until light and creamy.
- Stir in the melted butter, milk, vegetable oil, and vanilla until smooth.
- Gently add flour and salt, mixing until just combined. Batter should be thin.
- Preheat a nonstick skillet or cone maker over medium heat.
- Pour about 2 tablespoons of batter into the skillet and spread thinly into a circle.
- Cook 1–2 minutes per side, until golden brown.
- While warm, roll the circle around a cone mold or shape by hand, sealing the tip.
- Cool cones completely on a rack before filling with ice cream.
Notes
Dipping rims in melted chocolate and sprinkles makes them festive.
Add cocoa powder for chocolate cones or chopped nuts for crunch.
Store in an airtight container at room temperature for up to 3 days.
If cones soften, re-crisp in the oven at 300°F for 3–4 minutes.
Nutrition
- Serving Size: 1 cone
- Calories: 120
- Sugar: 9g
- Sodium: 45mg
- Fat: 6g
- Saturated Fat: 3.5g
- Unsaturated Fat: 2.5g
- Trans Fat: 0g
- Carbohydrates: 13g
- Fiber: 0g
- Protein: 2g
- Cholesterol: 35mg

