Why You’ll Love This Recipe
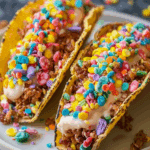
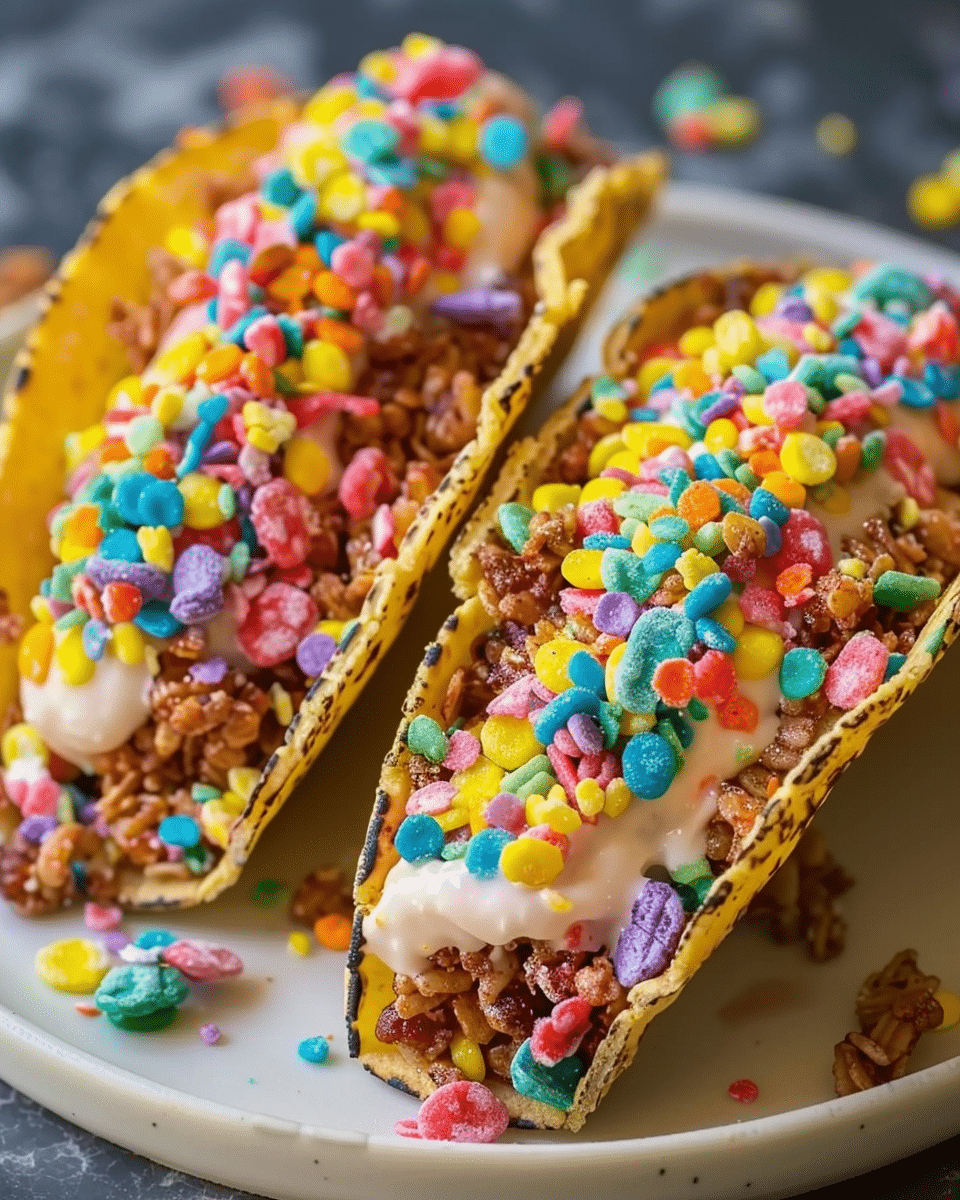
Fruity Pebbles Cheesecake Tacos are the ultimate fusion of childhood nostalgia and dessert innovation. The crunchy, colorful cereal shells add a playful twist, while the creamy cheesecake filling is rich and indulgent. This no-bake recipe is quick to make, perfect for all ages, and guaranteed to steal the spotlight at any gathering. They’re fun to assemble, easy to customize, and fabulously photogenic—making them as enjoyable to make as they are to eat!
Ingredients
For the Shells:
- 3 cups Fruity Pebbles cereal
- ½ cup unsalted butter, melted
For the Cheesecake Filling:
- 8 oz cream cheese, softened
- 1 cup powdered sugar
- 1 tsp vanilla extract
- 1 cup heavy cream
- ½ cup sour cream
(Tip: You’ll find the full list of ingredients and measurements in the recipe card below.)
Directions
- Prepare the Shells: In a large bowl, combine the Fruity Pebbles cereal with melted butter. Stir until the cereal is evenly coated with the butter.
- Form the Shells: Use a taco-shaped mold or muffin tin to shape the cereal mixture into taco shells. Press the mixture into the mold, ensuring that the edges are firmly packed. Place the mold in the refrigerator for 10-15 minutes to set.
- Make the Cheesecake Filling: In a mixing bowl, beat the softened cream cheese, powdered sugar, and vanilla extract until smooth. In a separate bowl, whip the heavy cream until stiff peaks form. Gently fold the whipped cream and sour cream into the cream cheese mixture until fully combined.
- Assemble the Tacos: Once the cereal shells have set, remove them from the mold. Spoon or pipe the cheesecake filling into each shell.
- Serve and Enjoy: Top with extra Fruity Pebbles for garnish or additional colorful sprinkles, if desired. Serve immediately or chill for a few minutes before serving.
Servings and Timing
This recipe makes about 12 tacos, depending on the size of your taco molds.
- Prep time: 20 minutes
- Chill time: 15 minutes
- Total time: 35 minutes
Variations
- Flavored Cheesecake: Add some lemon zest or orange zest to the filling for a citrusy twist.
- Chocolate Lovers: For a chocolatey variation, add cocoa powder to the cheesecake filling or drizzle chocolate syrup over the tacos.
- Fruit Toppings: Top the tacos with fresh fruit like strawberries, blueberries, or raspberries to add freshness and extra sweetness.
- Vegan Version: Use dairy-free cream cheese and whipped coconut cream to make this a vegan-friendly treat.
Storage/Reheating
- Storage: Store any leftover cheesecake tacos in an airtight container in the refrigerator for up to 2-3 days. The shells may soften slightly, but the flavor will still be delicious.
- Reheating: These tacos are best served cold or at room temperature, so there’s no need for reheating. If the shells soften, you can crisp them up briefly in the oven.
FAQs
Can I make the shells ahead of time?
Yes, the cereal shells can be made ahead of time and stored in the refrigerator for a few hours or even overnight before assembling the tacos.
Can I use a different cereal for the shells?
You can use any similar colorful cereal, like Trix or Cap’n Crunch, to create a different look or flavor.
How can I make the cheesecake filling fluffier?
To make the filling fluffier, you can fold in an extra ½ cup of whipped cream for additional lightness.
Can I freeze these tacos?
Yes, you can freeze the assembled tacos. Just make sure to store them in an airtight container and consume within 1-2 weeks for the best quality.
Can I add more toppings to the tacos?
Absolutely! Feel free to add sprinkles, mini chocolate chips, or other colorful candies to make your tacos even more fun and festive.
How do I know when the cheesecake filling is ready?
The cheesecake filling should be smooth and thick, with stiff peaks in the whipped cream portion. If it’s too runny, continue mixing or fold in more whipped cream to achieve the desired consistency.
Can I make these tacos with dairy-free ingredients?
Yes, simply swap the cream cheese with a dairy-free alternative and use a non-dairy whipped cream. You can also use dairy-free sour cream or yogurt.
Can I add a fruit compote to the filling?
Yes, you can swirl some homemade or store-bought fruit compote into the filling for extra flavor and a fruity twist.
How long do the taco shells last?
The taco shells should be eaten within a day or two of making them, as the cereal may become soggy over time.
Can I use a pre-made crust for the shells instead of making my own?
If you prefer a quicker option, you can use pre-made mini taco shells or even pie crusts as an alternative to the Fruity Pebbles shells.
Conclusion
Fruity Pebbles Cheesecake Tacos are the perfect no-bake treat for anyone who loves a bit of whimsy with their dessert. The combination of the crispy, colorful shells and the rich, creamy cheesecake filling makes each bite a joyous experience. These tacos are sure to be a hit at your next gathering, whether you’re serving kids or adults. Fun, fast, and totally fabulous, this dessert is guaranteed to bring smiles and spark conversations. Enjoy the magic of these rainbow-sweet tacos!
PrintFruity Pebbles Cheesecake Tacos
Fruity Pebbles Cheesecake Tacos are a fun, no-bake dessert that combines crunchy, colorful cereal shells with a creamy cheesecake filling. These rainbow-sweet tacos are quick to make, visually stunning, and guaranteed to be the star of any gathering. Perfect for all ages, these tacos bring together the best of both worlds—playful and indulgent!
- Prep Time: 20 minutes
- Cook Time: 15 minutes
- Total Time: 35 minutes
- Yield: 12 tacos (depending on mold size)
- Category: Dessert
- Method: No-cook
- Cuisine: American
- Diet: Vegetarian
Ingredients
For the Shells:
3 cups Fruity Pebbles cereal
½ cup unsalted butter, melted
For the Cheesecake Filling:
8 oz cream cheese, softened
1 cup powdered sugar
1 tsp vanilla extract
1 cup heavy cream
½ cup sour cream
Instructions
-
Prepare the Shells: In a large bowl, mix the Fruity Pebbles cereal with melted butter until the cereal is evenly coated.
-
Form the Shells: Press the cereal mixture into taco-shaped molds or a muffin tin. Pack it firmly and refrigerate for 10-15 minutes to set.
-
Make the Cheesecake Filling: Beat cream cheese, powdered sugar, and vanilla extract until smooth. Whip heavy cream in a separate bowl until stiff peaks form. Gently fold the whipped cream and sour cream into the cream cheese mixture.
-
Assemble the Tacos: Once the cereal shells are set, remove them from the mold and spoon or pipe the cheesecake filling into each shell.
-
Serve and Enjoy: Top with extra Fruity Pebbles or colorful sprinkles. Serve immediately or chill for a few minutes before serving.
Notes
Storage: Store leftovers in an airtight container in the refrigerator for up to 2-3 days. The shells may soften slightly but the taste remains delightful.
Make Ahead: Prepare the cereal shells ahead of time and refrigerate for a few hours or overnight before assembling.
Variations:
For a citrusy twist, add lemon or orange zest to the cheesecake filling.
For chocolate lovers, add cocoa powder to the filling or drizzle with chocolate syrup.
Top with fresh fruit for added sweetness and color, such as strawberries or blueberries.
To make it vegan, substitute with dairy-free cream cheese and coconut whipped cream.
